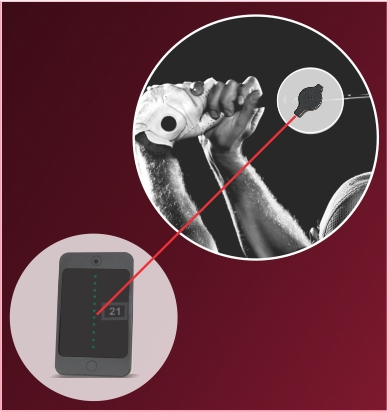
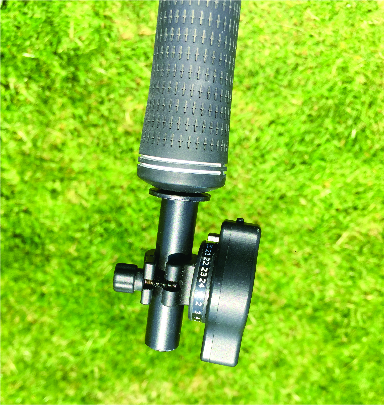
The Swing Mason System consists of our paired Swing Mason Laser and Sensor.
The Laser and Sensor paired system utilizes swing path checkpoints as a tool for creating, replicating and testing any particular segment of a swing. The Sensor provides visual and recorded feedback when the Laser crosses the Sensor. The compactness of the System provides mobility to practice anywhere at the golfer's convenience (office, hotel, park, backyard, golf studio, range, etc.)
Swing Mason System Set Up
1. The Swing Mason System set up starts with putting self-adhesive coordinate tape on the club shaft (within 4 to 20 inches from the bottom of the grip) and mounting a laser on the shaft.
2. Position the Swing Mason Sensor one grip length away from the ball.
3. Use the Swing Mason Right Angle Rod Holder to set up to the ball and mark your stance position on an alignment rods for repeatability.
4. Have your instructor lead you to the first check point. Hold that position so your instructor can adjust the Swing Mason Laser to the middle of the right side of the sensor. For left-handed golfers, use the left side of the sensor.
5. Take a reading of the shaft and laser axis coordinates.
6. Write the coordinates in the Swing Mason Practice notebook.
7. Repeat the process (3,4,5) to set up as many checkpoints as you desire. Congratulations! Your blueprint is ready.
Once you have achieved strong muscle memory to get to the checkpoint without the laser lead you can proceed to additional checkpoints. When you are successfully getting through all the checkpoints without following/needing the laser lead, congratulations, you have successfully developed your new desired swing!
US Patent 11,369,854 B1


